Master the moves
Short videos and step-by-step breakdowns of the techniques behind every guide. Learn one, use it everywhere.
 Video
Video Essentials - Biro Etching
We’ve discovered a great use for all those dud biros you find knocking around the bottom of your drawer… They make the perfect etching tool!
 Video · 0:44
 Essentials - Drawing a Guide
A sharpie or marker pen is a useful tool when designing your cast creation. Draw onto wax to help you shape and sand, use it as a guide to engrave, or draw directly onto your magazine and drizzle wax over. If you want to remove the guideline, simply sand away the very surface and start again.
 Video
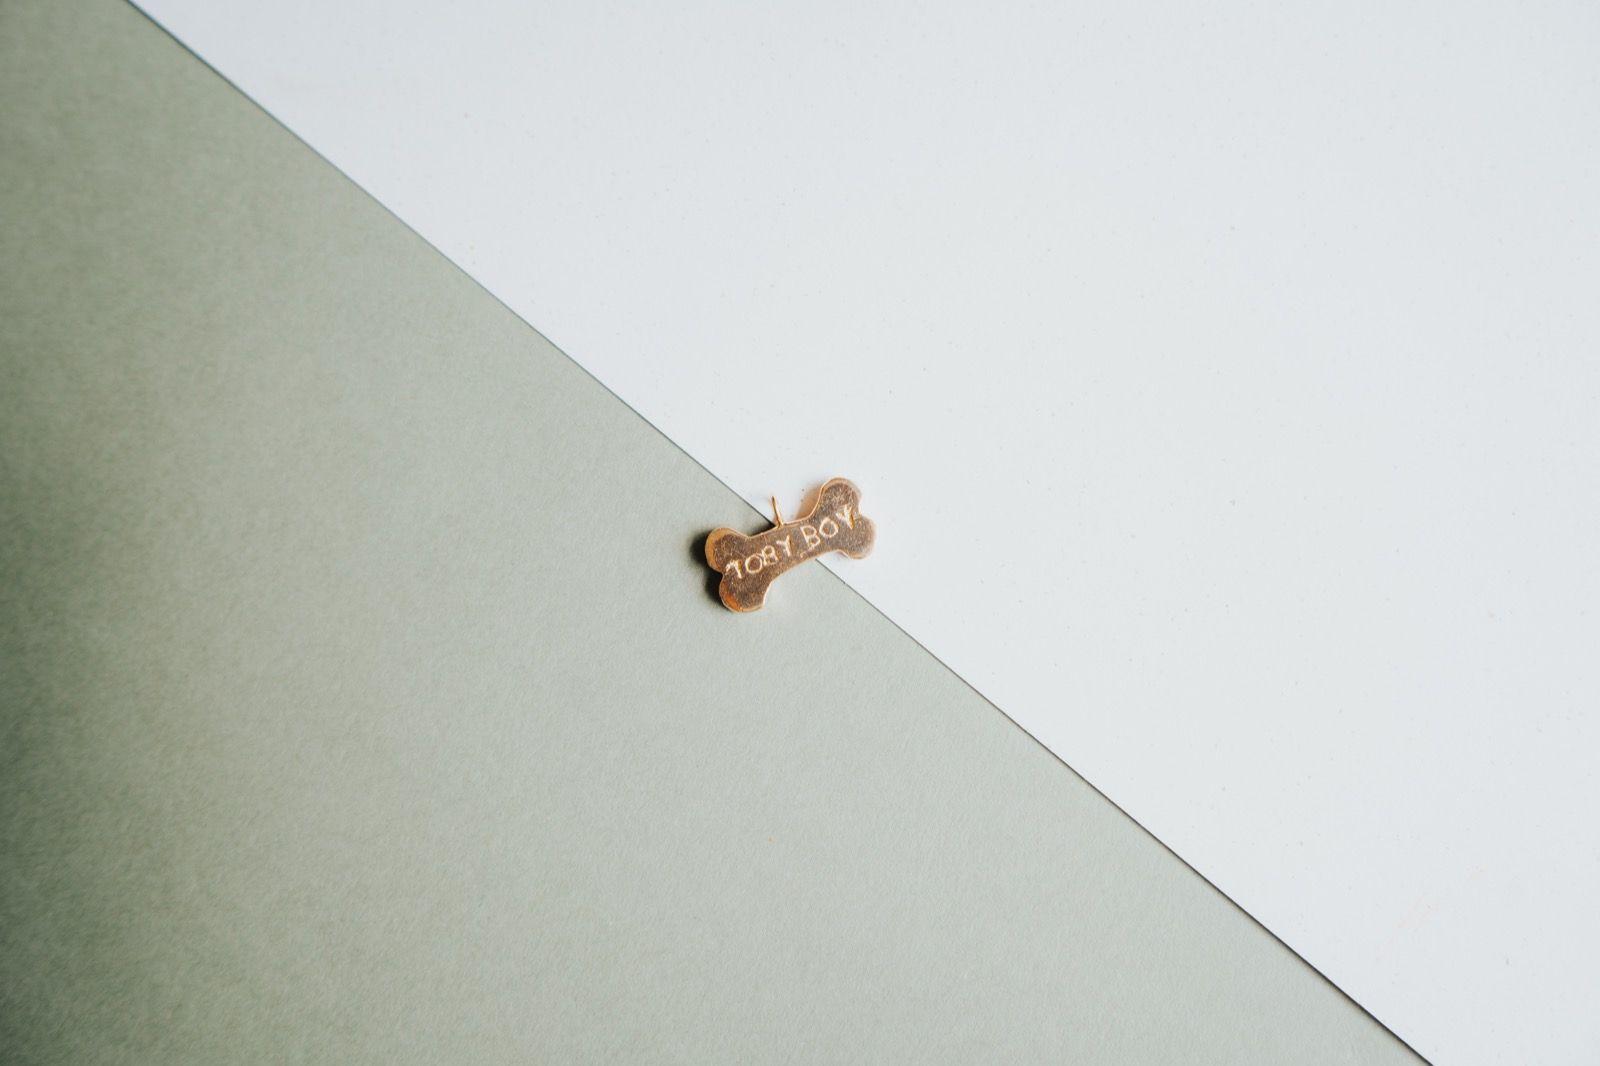
Video Essentials - Engraving
You can etch or engrave letters, initials and shapes into the surface of the wax nice and easily using the steel shaping tools!
 Video
Video Essentials - Shaping the Wax
Our go-to technique for shaping the wax! It takes a little time but it’s a super simple way to remove larger areas of wax, in a really controlled way. You’ll need some wax, your red sandpaper and a flat surface to get started!
 Video · 0:39
 Essentials - drizzling the wax
A great technique for creating shapes, molten texture or adding volume to designs. Simply heat up your wax over a tea light and then drizzle away. The great thing about drizzling the wax, is that you’ll end up with a super smooth and shiny surface which will look great once wax in metal. This technique is pretty limitless, allowing you to create totally unique shapes which can be brought to life as earring, pendants, rings and charms!
 Video · 0:41
 Essentials - joining the wax
This technique can unlock a vast world of creative opportunities. No longer restricted to the size and width of the wax you have, you can easily ‘weld’ wax together using a bit of heat, and some spare wax.
 Video · 1:30
 Essentials - sizing the wax
This one is pretty important. As your wax will be cast exactly as we receive it, it will be exactly the same size upon its return. This means that you can sand the inside of the ring wax out so that it fits your finger perfectly. No need to worry about ring sizes and half steps blah blah!
 Video
Video Finishes - Polishing the wax
This technique applies both BOTH polished and satin matte. Why you may say? Because, we always polish your wax first, and then satin it afterwards. This helps achieve that silky smooth, matte texture!
 Video · 0:33
 Tools - Gold Needle File
Great for etching, engraving and filing. The flat edge is perfect for smoothing the other edges, taking off sharp corners and shaping with a smooth finish. The curved side or the file is great for the inside of bands and more intricate detail.
 Video · 0:33
 Tools - Red (coarse) Sandpaper
The unsung hero of your kit. Use your coarser red sandpaper to shape your wax, and later, yellow sandpaper to refine and add shine to the surface of your design.
 Video · 0:40
 Tools - Steel shaping tools
Heat up, etch, imprint, emboss. There are tonnes of ways your can use these little tools. They’re robust and resilient tools. Heat them over a flame, tarnish them, cover them in wax and they’ll easily clean up, looking as good as new!
 Video · 0:52
 Tools - craft knife
The craft knife is an essential in lost wax carving. Great for cutting down those big chunks of wax.
 Video · 1:06
 Essentials - Thinning the wax
Something that most people don’t know: the wax weighs about 1/10th of the final weight in solid silver. That means a 1g wax will weigh around 10g in silver. 10g is heavy… especially when it’s dangling from your ears or around your neck.
 Video · 0:52
 Essentials - flashing the wax
This technique is a finishing step so your piece whatever it be must be ready for this stage. Flashing is a great way to create a smooth and shiny finish. When flashing, bare in mind that the wax will be softer than it was in its original form, once cooled down again.
 Video · 0:41
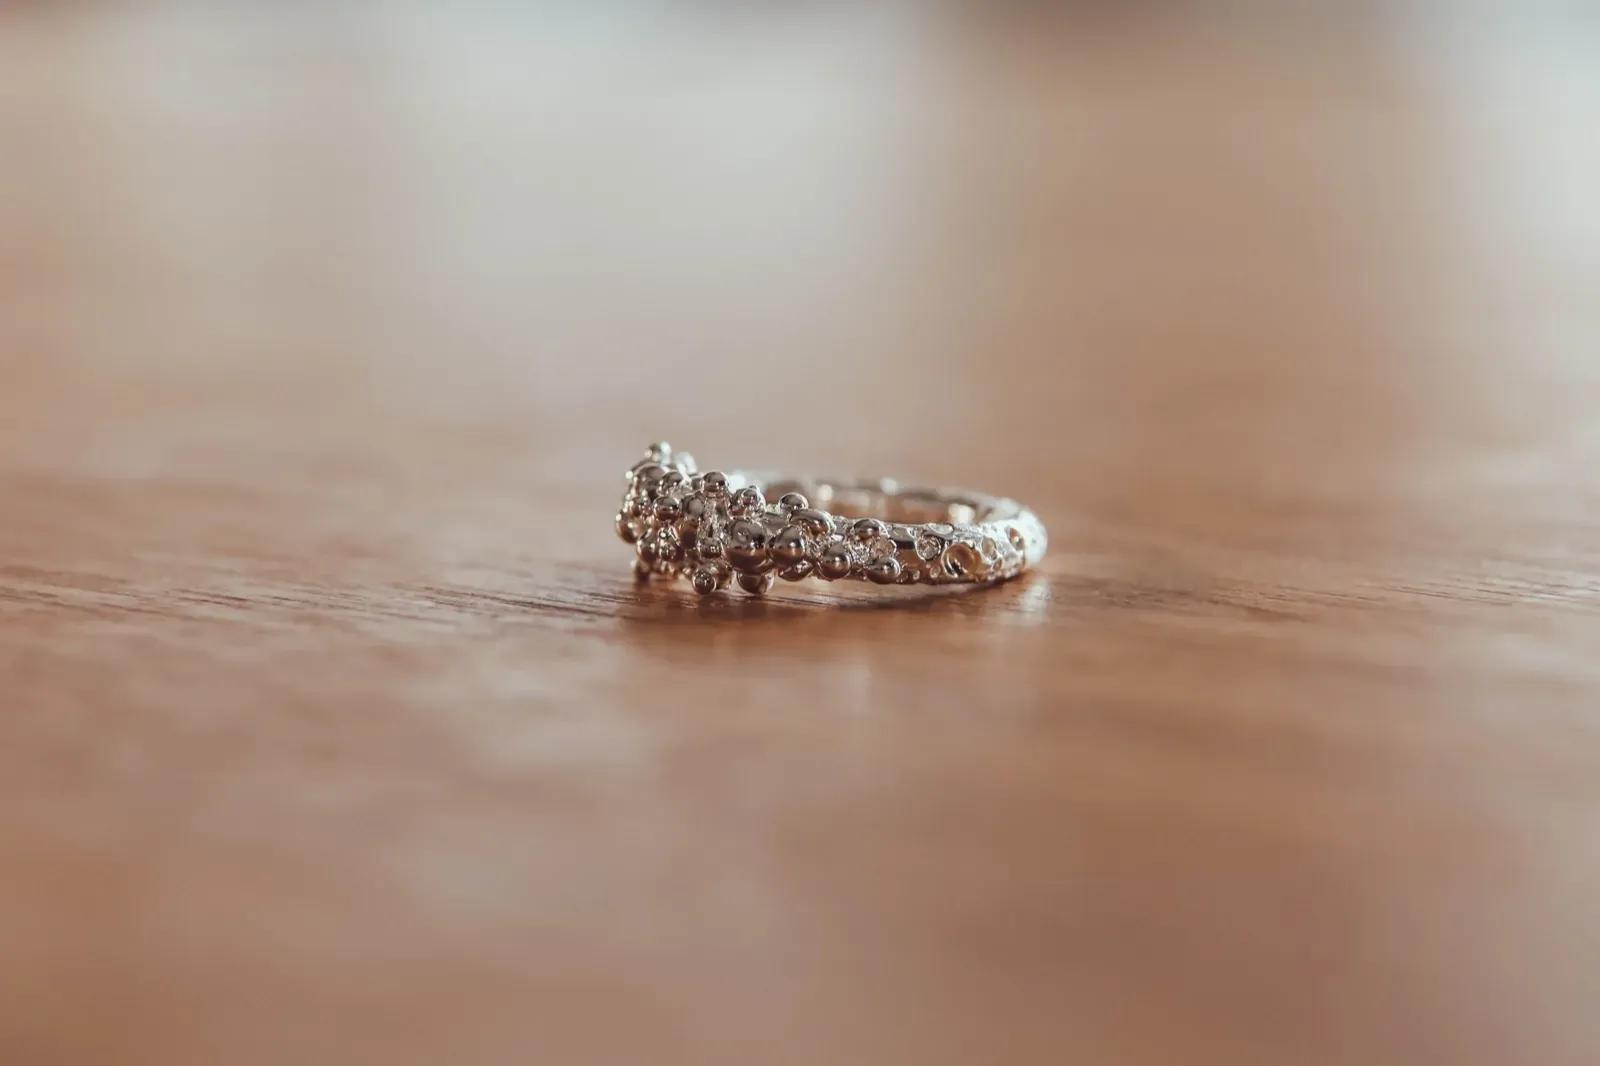
 Finishes - Bubble Texture
We can’t stress how easy this technique is, and how advanced it looks!
 Video · 0:51
 Finishes - Hammered Detail
Hammered texture is a super simple technique, but adds tonnes of detail and character to simple band designs - check out how to create a hammered texture-esque finish here!
 Video · 0:49
 Finishes - Molten Texture
Once you are happy with the shape and size of your piece, it's time to decide on your finish!
 Video · 0:50
 Finishes - Rolled Texture
Rolled texture is a beautiful way to capture an interesting or meaningful surface!
 Video · 0:49
 Finishes - brushed texture
Using the red sandpaper and some creative vision, you can create a beautiful brushed texture on your piece. This works on all types of jewellery, you could even create a brushed texture matching set !
 Video · 0:39
 Tools - Yellow (fine) Sandpaper
As Sam shows here, the yellow sandpaper is for smoothing out the wax for that finishing smooth surface...
 Video
Video Finishes - Bark Woodland Texture
If you would like to create a woodland/bark texture, apply some heat to the steel shaping tool and simply run it through the wax.
 Video
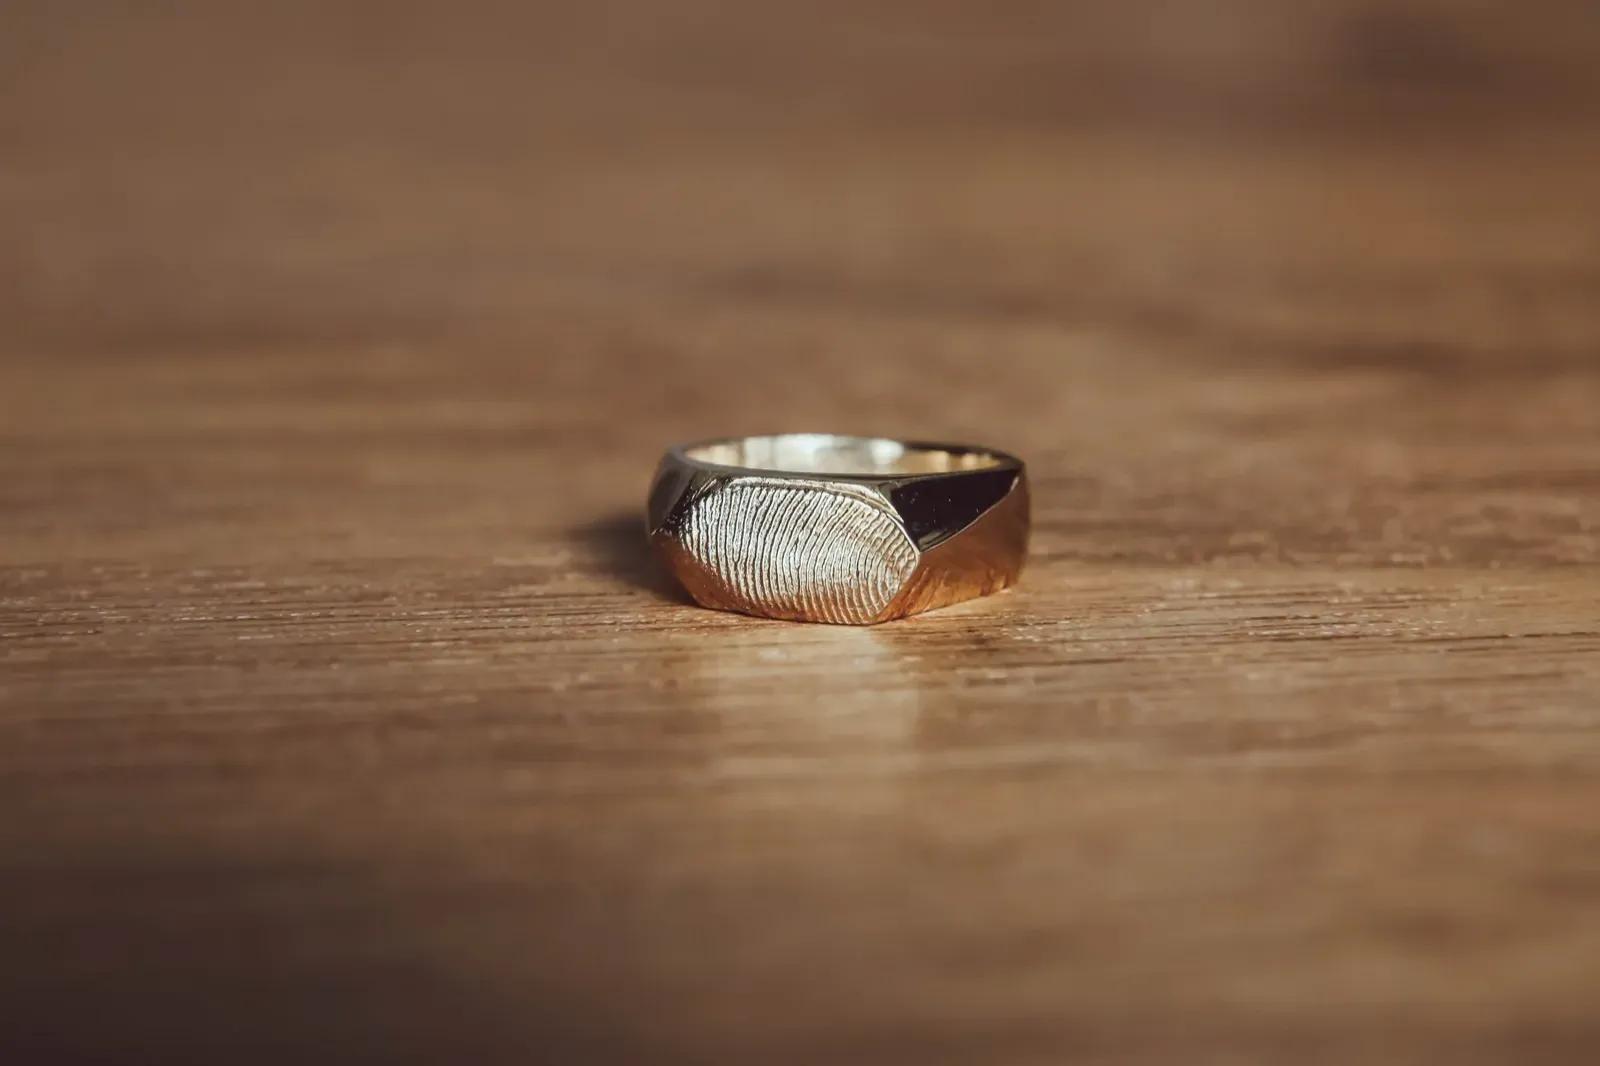
Video Finishes - Fingerprint Impression
Adding a fingerprint or another impression to the wax is such a beautiful way to add even more extra sentiment, character and personalisation to your jewellery.
 Video · 1:10
 Essentials - repairing the wax
Broken wax? Not ideal… but definitely not the end of the world. The beauty of working with wax is that you can use heat to repair and smooth over any breaks. You’ll never know that they were once there.
 Video
Video Lipstick Case Hack
Try this … take a lipstick case or a chapstick case (something round that has a shiny plastic surface). Heat some spare wax and drizzle it around the case. Once set, take a steel tool to separate the wax from the case. BOOM!
 Video
Video Magazine Cover Hack
An old glossy magazine is one of the handiest hacks we use. Lay it flat, roll it up, it has many uses! – to get your ring size, use one of your own rings – great for drizzling and creating molten texture, see the double molten ring design guide.
 Video
Video Tin Foil Hack
Crinkle the foil and melt it directly onto the surface to create interesting textures. You can also use the foil to take textures from other objects, and then repeat the same melted wax process. Allow the wax to cool and then peel away. Use tools to shape the formed wax into pendants, earrings charms, whatever you like!