Master the moves
Short videos and step-by-step breakdowns of the techniques behind every guide. Learn one, use it everywhere.
 Video
Video Essentials - Biro Etching
We’ve discovered a great use for all those dud biros you find knocking around the bottom of your drawer… They make the perfect etching tool!
 Video · 0:44
 Essentials - Drawing a Guide
A sharpie or marker pen is a useful tool when designing your cast creation. Draw onto wax to help you shape and sand, use it as a guide to engrave, or draw directly onto your magazine and drizzle wax over. If you want to remove the guideline, simply sand away the very surface and start again.
 Video
Video Essentials - Engraving
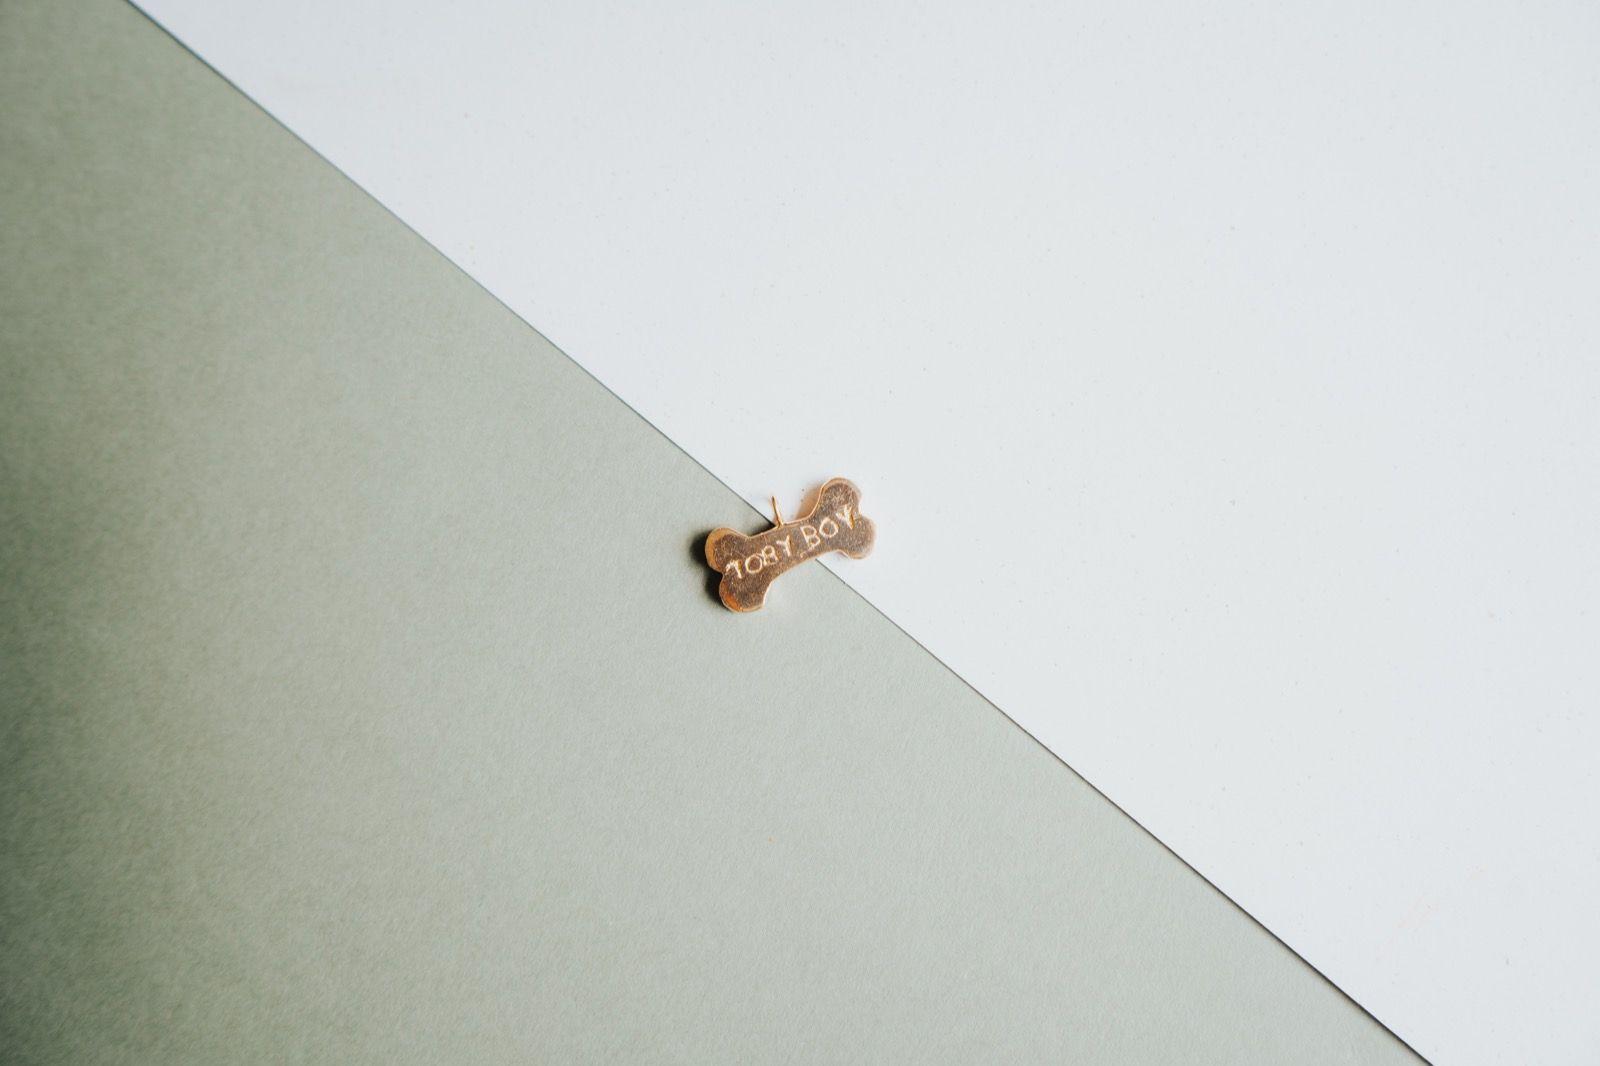
You can etch or engrave letters, initials and shapes into the surface of the wax nice and easily using the steel shaping tools!
 Video
Video Essentials - Shaping the Wax
Our go-to technique for shaping the wax! It takes a little time but it’s a super simple way to remove larger areas of wax, in a really controlled way. You’ll need some wax, your red sandpaper and a flat surface to get started!
 Video · 0:39
 Essentials - drizzling the wax
A great technique for creating shapes, molten texture or adding volume to designs. Simply heat up your wax over a tea light and then drizzle away. The great thing about drizzling the wax, is that you’ll end up with a super smooth and shiny surface which will look great once wax in metal. This technique is pretty limitless, allowing you to create totally unique shapes which can be brought to life as earring, pendants, rings and charms!
 Video · 0:41
 Essentials - joining the wax
This technique can unlock a vast world of creative opportunities. No longer restricted to the size and width of the wax you have, you can easily ‘weld’ wax together using a bit of heat, and some spare wax.
 Video · 1:30
 Essentials - sizing the wax
This one is pretty important. As your wax will be cast exactly as we receive it, it will be exactly the same size upon its return. This means that you can sand the inside of the ring wax out so that it fits your finger perfectly. No need to worry about ring sizes and half steps blah blah!
 Video
Video Finishes - Polishing the wax
This technique applies both BOTH polished and satin matte. Why you may say? Because, we always polish your wax first, and then satin it afterwards. This helps achieve that silky smooth, matte texture!
 Video · 0:33
 Tools - Gold Needle File
Great for etching, engraving and filing. The flat edge is perfect for smoothing the other edges, taking off sharp corners and shaping with a smooth finish. The curved side or the file is great for the inside of bands and more intricate detail.
 Video · 0:33
 Tools - Red (coarse) Sandpaper
The unsung hero of your kit. Use your coarser red sandpaper to shape your wax, and later, yellow sandpaper to refine and add shine to the surface of your design.
 Video · 0:40
 Tools - Steel shaping tools
Heat up, etch, imprint, emboss. There are tonnes of ways your can use these little tools. They’re robust and resilient tools. Heat them over a flame, tarnish them, cover them in wax and they’ll easily clean up, looking as good as new!
 Video · 0:52
 Tools - craft knife
The craft knife is an essential in lost wax carving. Great for cutting down those big chunks of wax.